

In the competitive world of e-commerce, high-quality product images are no longer a luxury—they’re a necessity. Attractive and informative visuals are crucial for capturing customer attention, building trust, and ultimately, driving sales. This beginner’s guide will equip you with the skills to create stunning e-commerce product images using Canva, a user-friendly design platform perfect for those without extensive design experience. Learn how to optimize your product photography, leverage Canva’s powerful tools, and design images that convert browsers into buyers.
Whether you’re selling handmade crafts, apparel, or electronics, compelling product imagery is key to standing out from the crowd. This guide will walk you through the process of creating professional-looking product images using Canva, from background removal and image enhancement to adding text and creating cohesive branding. Mastering these techniques will allow you to elevate your online store’s aesthetics, increase customer engagement, and ultimately boost your e-commerce success. Explore the potential of Canva and transform your product photos into powerful marketing assets.
Getting Started with Canva for E-commerce
Canva is a user-friendly design platform perfect for creating compelling product images. No prior design experience is needed, making it an ideal tool for e-commerce beginners. This section will guide you through setting up your Canva account and navigating the interface specifically for product image creation.
Creating Your Canva Account
If you’re new to Canva, begin by creating a free account. Visit the Canva website and sign up using your email address or social media login. The free version offers a wide range of features suitable for e-commerce needs.
Navigating the Canva Interface
Once logged in, you’ll find a straightforward dashboard. The template library is a key feature, offering pre-designed layouts for various purposes, including e-commerce product displays. The editor itself is intuitive, with drag-and-drop functionality for adding elements and tools for customizing your designs.
Choosing the Right Canva Plan
While the free plan is sufficient for many, Canva Pro offers additional benefits like premium templates, stock photos, and brand kit management. Consider upgrading if these features align with your business’s growth.
Creating Product Images that Convert
High-quality product images are essential for driving sales in the competitive e-commerce landscape. They serve as the primary visual representation of your products and significantly influence a customer’s purchasing decision. This section focuses on creating compelling images that translate views into conversions.
Showcase Product Features: Highlight the key features and benefits of your product through detailed, close-up shots. Consider different angles to provide a comprehensive view and emphasize unique selling points.
Maintain Consistency: Establish a consistent visual style across all your product images. This creates a cohesive brand identity and a professional look for your online store. Consider a consistent background, lighting, and image size.
Lifestyle Imagery: Incorporate lifestyle images to demonstrate how your product fits into a customer’s life. These images help potential buyers visualize using the product and connect with it on a more personal level.
Optimizing Images for Different Platforms
Image optimization is crucial for ensuring your product images look their best and load quickly across various e-commerce platforms. Each platform has its own recommended image sizes and formats. Failing to optimize can lead to blurry images, slow loading times, and ultimately, lost sales.
Consider these key factors when optimizing your Canva designs for different platforms:
- Image Dimensions: Research the ideal image sizes for each platform (e.g., Amazon, Etsy, your own website). Consistent sizing maintains a professional look.
- File Format: JPEG is generally preferred for photographs due to its smaller file size, while PNG is better for graphics with transparent backgrounds.
- File Size: Compress your images to reduce file size without sacrificing quality. Large files can significantly slow down page loading speeds.
By tailoring your images to each platform’s specifications, you ensure a seamless and engaging shopping experience for your customers.
Using Canva Templates for Product Mockups
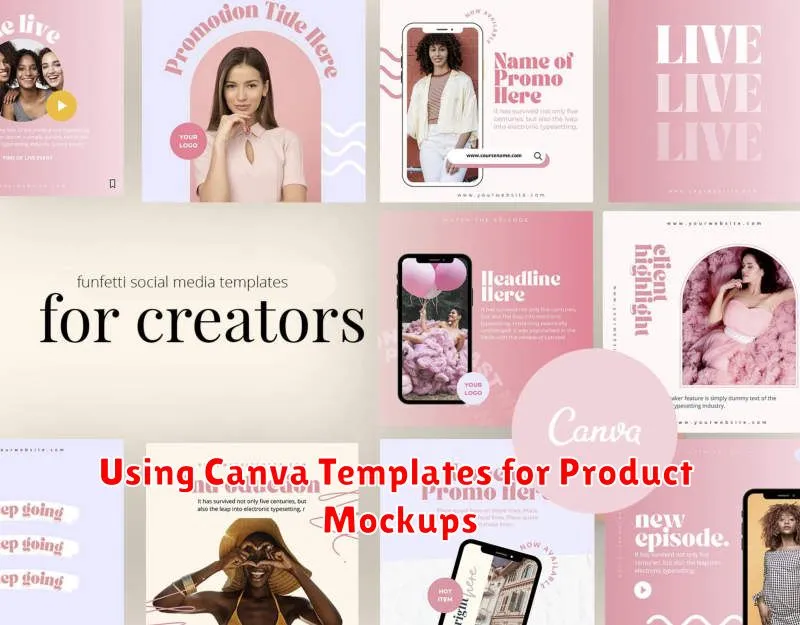
Canva offers a wide array of pre-designed templates specifically for creating product mockups. These templates provide a realistic visual representation of how your product will look in a real-world setting, significantly enhancing its appeal to potential customers. Utilizing these templates can save you valuable time and effort, especially if you’re not a design expert.
To access Canva’s mockup templates, simply navigate to the “Templates” tab and search for “mockups.” You’ll find a diverse selection categorized by product type, including apparel, mugs, books, and more. Select a template that best represents your product and customize it with your own branding and imagery.
Key benefits of using Canva’s product mockup templates include:
- Professional presentation: Showcase your products in a polished and visually appealing manner.
- Time-saving: Skip the complex design process and quickly generate realistic mockups.
- Variety: Explore numerous template options to find the perfect fit for your product.
- Customization: Easily adapt templates to align with your brand’s aesthetics.
By leveraging Canva’s mockup templates, you can elevate the presentation of your products and create a more compelling online shopping experience for your customers.
Adding Text and Graphics to Enhance Product Visuals
Text and graphics can significantly elevate your product images, adding context and personality. Canva provides a wide array of tools to help achieve this.
Adding Text: Select the “Text” tab in Canva and choose from a variety of fonts, sizes, and styles. Overlay text directly onto your product image to highlight key features, announce sales, or create a specific mood. Ensure the text is readable and complements your brand’s aesthetic.
Incorporating Graphics: Canva’s vast library of graphics, including icons, shapes, and illustrations, can be used to draw attention to specific product details or create thematic visuals. For instance, use arrows to highlight specific features or add icons representing key benefits like “free shipping” or “eco-friendly.”
Maintaining Balance: While text and graphics can enhance your images, avoid overcrowding. A cluttered image can distract from the product itself. Strive for a clean, balanced design that highlights your product while providing useful information.
Enhancing Images with Canva’s Editing Tools
Once you’ve uploaded your product image to Canva, you can leverage its user-friendly editing tools to enhance its visual appeal. Canva offers a range of tools to refine your images, from basic adjustments to more advanced effects.
Brightness and Contrast: Fine-tune the brightness to ensure your product is well-lit and the contrast to make details pop. Avoid overdoing it, as extreme adjustments can make the image look unnatural.
Saturation and Hue: Adjust the saturation to enhance colors or create a muted look. The hue tool allows for subtle color shifts, which can be helpful for correcting white balance or creating a specific mood.
Cropping and Resizing: Use the crop tool to remove unnecessary background or focus on a specific product feature. Resizing ensures your image fits your e-commerce platform’s requirements.
Background Remover: For a clean, professional look, consider using Canva’s background remover tool. This feature isolates the product, making it stand out and ideal for creating product mockups or showcasing it on different backgrounds.
Exporting and Optimizing Images for Web Use
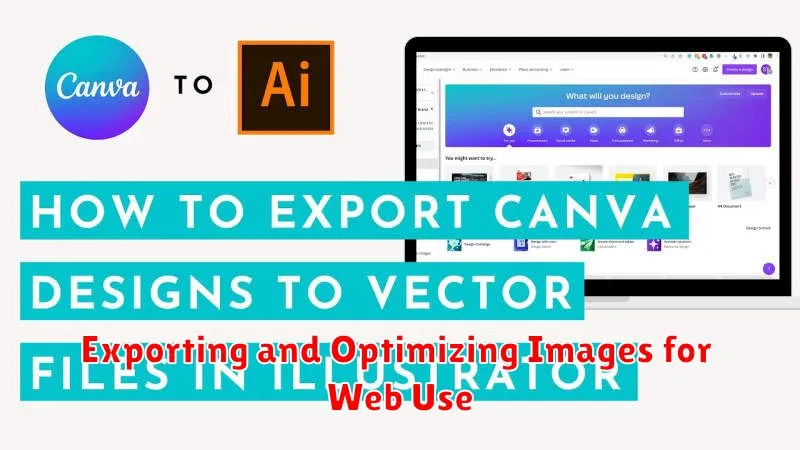
Once you’re satisfied with your product image design, it’s time to prepare it for your online store. Exporting and optimizing are crucial steps for a fast-loading website and a positive user experience.
Canva offers several export file formats. For e-commerce product images, PNG or JPG are generally recommended. PNG is ideal for images with transparent backgrounds or those requiring high detail. JPG is better suited for photographs and images with complex color gradients, offering a smaller file size. Consider your specific image and choose accordingly.
Optimizing images involves reducing their file size without significantly compromising quality. Large image files can slow down website loading times, negatively impacting SEO and user experience. Canva’s download settings allow you to control the file size by adjusting the quality slider. Experiment to find the optimal balance between image quality and file size.
After downloading, consider using a dedicated image optimization tool for further compression. These tools can often shave off additional kilobytes without noticeable quality loss. A smaller file size means faster loading times and happier customers.